How to create YUM repository in Centos 7!
I was working on an open source project recently, and I needed a repository to host some custom packages. However, you might have your own reasons to create yum repository. You can create a local version of an online repository so everytime you install a package network bandwidth is not consumed. Or there can be many other possible reasons.
In this article, we will learn how to create yum repository in centos 7.
Step 1: Install NGINX Web Server!
You can create repository either on a dedicated server or VPS, you can find cheap vps offers in the vps offers section to host your yum repository.
I am installing NGINX web server as a first step because we’ve to later publish our repository so that anyone from the internet can download packages from the repository.
First, let us bring all packages to their latest versions using:
yum update
NGINX is not available in any of the repositories that ships with CentOS 7, so we’ve to add EPEL repository, you can add EPEL repository using:
yum install epel-release
NGINX and all its pre-requisites are available in this repository so let’s issue a NGINX install command:
yum install nginx
First, let us start Nginx
systemctl start nginx
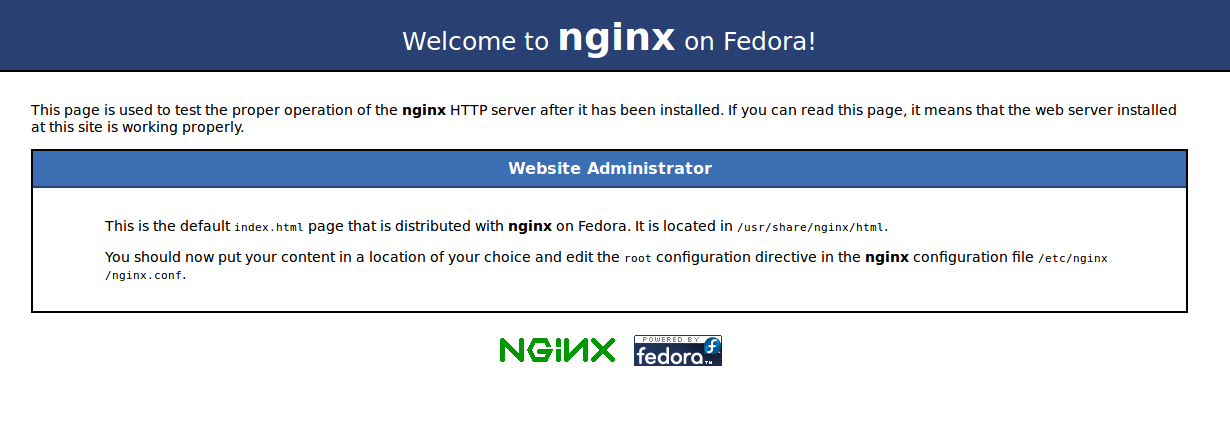
Now open your browser and point it to: http://<IP Address of your VPS>
You must see something like this:
 If not, then you have to disable the firewall on your VPS.
Step 2: Setup directory for Repo!
We will now create our repository. As you can see in the screenshot above, you can see that NGINX default directory is
“/usr/share/Nginx/html”, we will use this directory to save our packages.
We can use any other directory as well, but then we’ve to configure a virtual host in NGINX and that would be really time-consuming. So if VPS is only being used for your repository then this directory is the best choice.
First, remove everything present inside this directory:
cd /usr/share/nginx/html
rm . *
Our directory is now ready to host packages.
Step 3: Install Createrepo package!
“createrepo” is the package that will be used to create the repository metadata. There is no need to enable any extra repository as it is available in the default Centos 7 repos.
# This will install the createrepro package

yum install createrepo
Step 4: Download Packages to repository!
Directly download packages
Before creating our repository we’ve to add some RPM packages to it. You can download packages from here. We will for now download a test package named GeoIP-data.
cd /usr/share/nginx/html

wget http://mirror.centos.org/centos/7/os/x86_64/Packages/GeoIP-data-1.5.0-11.el7.noarch.rpm
Commands above will download GeoIP-Data package to our repository directory (that we’ve chosen above).
Sync an entire repository
You can also sync an entire repository to your Linux machine, this can be useful in a case if you wanted to save bandwidth or machines in your company download a lot of packages from a specific repository.
cd /usr/share/nginx/html

reposync --repoid=epel --download_path=.
This will download all packages from EPEL repository and download to your current working directory.
Step 5: Create repository!
Once you have downloaded all the required packages or choose to sync an existing repo, we are ready to create our repository using:
createrepo /usr/share/nginx/html
Then update package database:
createrepo --update /usr/share/nginx/html
Our repository is now ready to be published, we can now easily configure a client to use our repository.
Step 7: Configure the client to use our repository!
On any CentOS 7 machine, where you are interested in using this repository, you can run following commands:
cd /etc/yum.repos.d

nano cybercp.repo
It will open a file for you to edit, in the file, paste following:
[cybercp]
name=Cyber CP
baseurl=http://<IP Address of your virtual machine>
gpgcheck=0
You are finally done, you can now download packages from this repository using normal “yum” command:
yum install <package name>
Optionally Setup DNS!
If you don’t want to use IP as your base url, you will need a domain and than set A record. I would recommend you to use CloudFlare to manage your DNS, you can use the article below to setup CloudFlare:
How to setup cloudflare for your domain!
Once cloudflare is setuped with your domain, login to CloudFlare panel, and add A record like this:
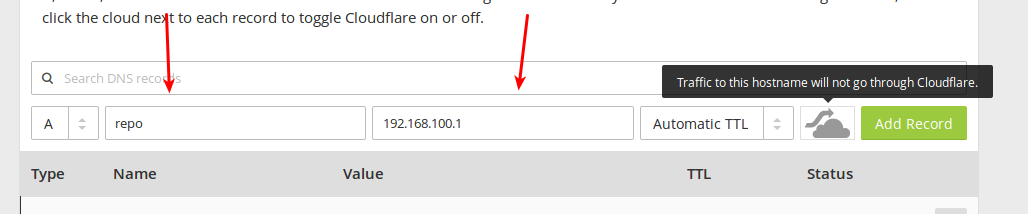
First enter tha name, and than enter ip address of your virtual machine in the second box. Your repo config file will than look something like this:
name=Cyber CP
baseurl=http://repo.cyberpersons.com
gpgcheck=0
All you have to do is replace “cyberpersons.com” with your domain name.