How to setup cloudflare for your domain!
Most of the people know cloudflare is a tool to speed up their site and protect them from DDOS attacks, its true. How ever we can easily manage our DNS through cloudflare as well. Let see how to setup cloudflare for your domain.
Step 1: Register on their site
Note : If you already have an account, please jump to step 2.
First step is to register at CloudFlare site so that you can start using their services. You can register here.

After filling all the boxes, just click ‘Create Account’.
Step 2: Add Domain
After you click create account, you will see this window.
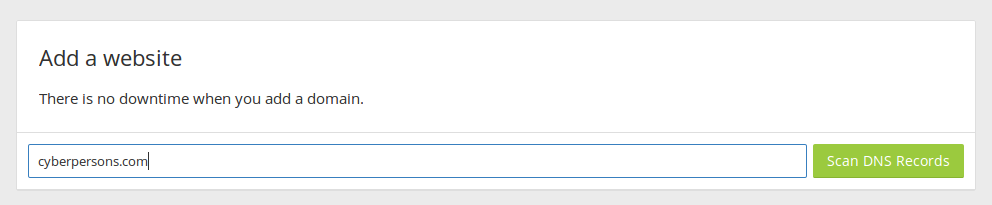
Enter the domain name in box and click ‘Scan DNS Records’. It will take some time to scan your records. Once the scan is done you are ready to point your domain towards your server.
Step 3: Add DNS Records in CloudFlare
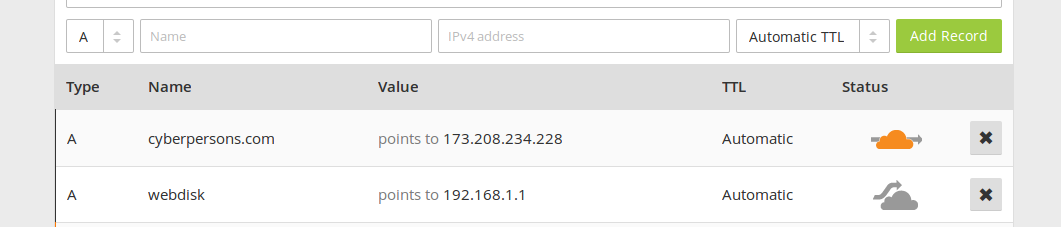
Replace the ‘points to‘ IP with the IP of your server. This record will let you browse the main domain of your site for example ‘cyberpersons.com’.
If you have a subdomain ‘example.cyberpersons.com’, you can add the new A record to cloudflare. Just like in the image below.

After filling these two boxes, click ‘Add Record’, and you will be able to browse ‘example.cyberperons.com’.
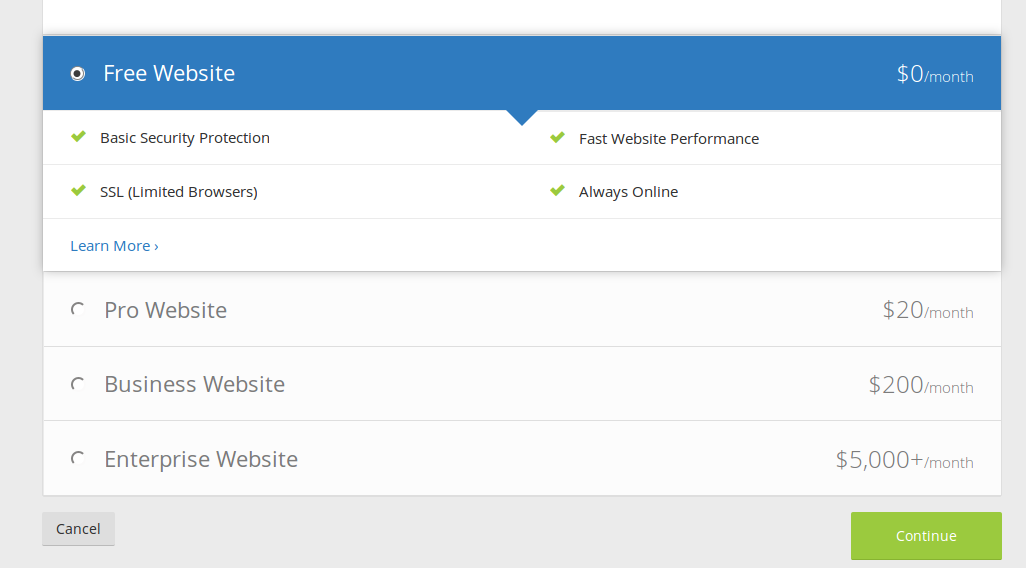
Once done, scroll down and click ‘Continue’ at the end of the page. Select the free CloudFlare package on next window and click continue.
Step 3: Set up DNS at your domain registrar
The final step is to point your DNS to cloudflare, so that cloudflare can manage your DNS records locally.
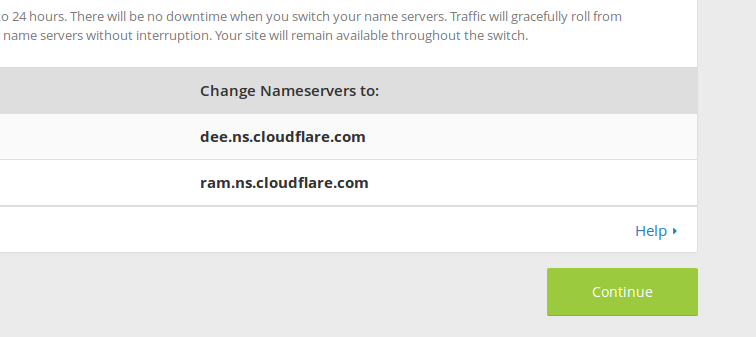
These are the DNS records provided to you by CloudFlare, yours might be different. Now login to your domain registrar and update your name servers to point to cloudflare name servers. I’ve registered the domain with namecheap so I am going to change them at namecheap, how ever it will not be any different at any other domains registrars as well.
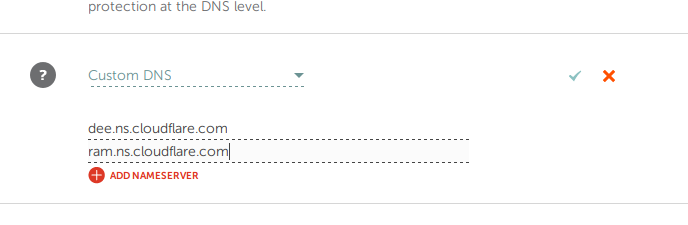
Just press the tick sign and you are ready to browse your domain, please note that name server propagation can take upto 24-48 hours.
Don’t forget that you can also fine tune security, caching, and other controls with Page Rules. We have a new page with video tutorials for many of the most popular/recommended page rules.
https://www.cloudflare.com/features-page-rules/
And while the number of rules with each plan type varies, you will soon be able to purchase additional page rules without changing plans.
Thanks Ryan for the update.
Regards
[…] How to setup cloudflare for your domain! […]
[…] How to setup cloudflare for your domain! […]
[…] private nameserver you can skip everything above and set up your dns on CloudFlare using this guide. With Cloudflare all you have to do is set their provided nameservers and then add A records […]