How to move Website + Database from cPanel to vestaCP!
In our previous article, we explained how to use vestaCP and explored some of its features. If you haven’t already read the article you can go and read at cPanel Alternative: VestCP. But if you already have an idea on how to use vestCP than its fine to continue with this article. In this article, we will see how to move website + database from cpanel to vestaCP server. So let’s dive into it.
Step 1: Compress website data and download database!
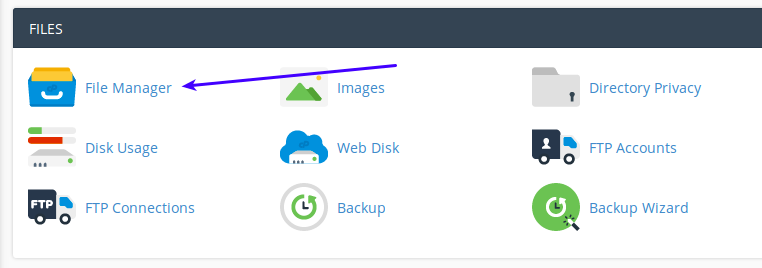
The first step of the transfer begins with obtaining your data from cPanel server. Log in to your cPanel account and open File manager.
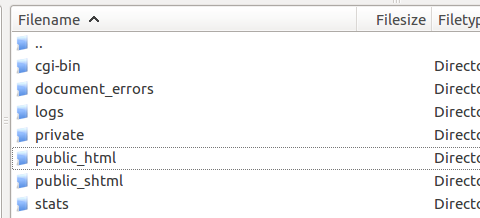
Once the file manager is opened you will be presented with various folders, our folder of interest is ‘public_html’, please open this folder.
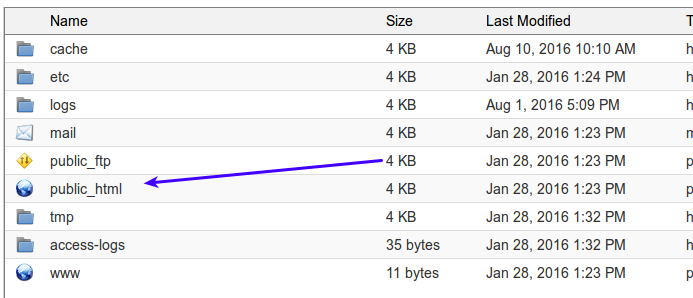
In this folder all your website public files are located, you need to compress everything contained in this folder and download to your computer.
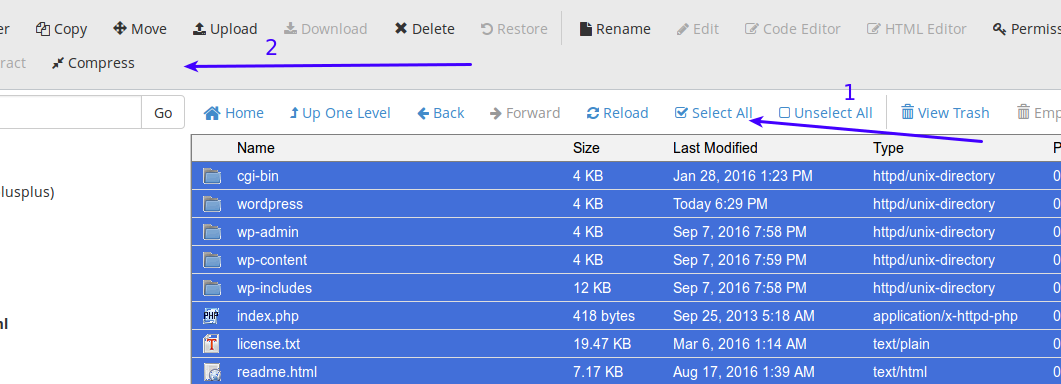
- Click ‘Select All’ to select all the files in this folder.
- Now click compress and choose the compression type zip when prompted.
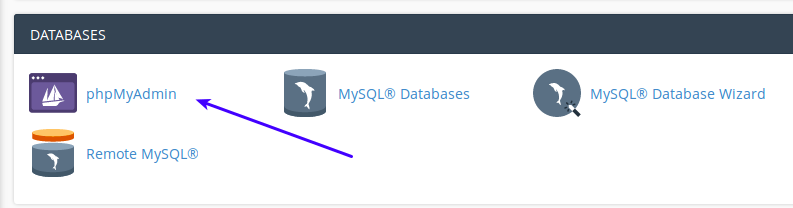
It will then create a .zip archive in the same directory that you can download, its time you should take a dump of your database as well. Come back to cPanel and open ‘PHPMyAdmin’.
Now you have to select and dump the database.

- As we only have one database their, we’ve selected that from a list, if you have various databases , then select the one your website is connected to.
- After selecting the database, click ‘Export’.
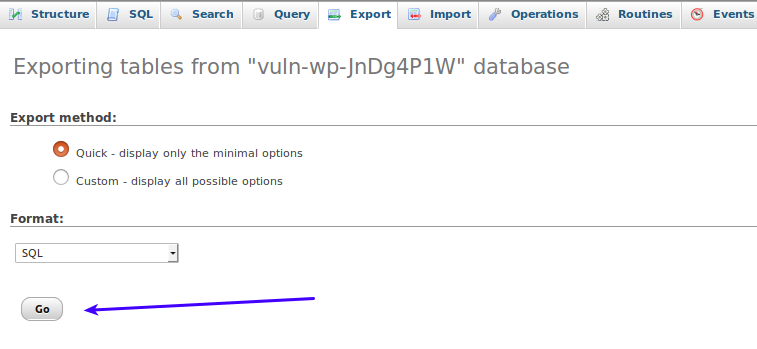
Just press ‘Go’ and it will start downloading the database dump file. It’s all from the cPanel side, you are now ready to upload your website content to vestaCP server.
Step 2: Upload Content to your vestaCP Server
It’s time you should upload your .zip file into your domain root directory (you will have to use FTP) , that you have downloaded from cPanel server. If you don’t know how to add a domain to vestaCP you can read this article to add a domain. The same article also explains how to configure FTP as well. Once you have FTP details at your disposal, connect to your site using any FTP client, I am using Filezilla.

- Enter your vestaCP server main IP.
- Your FTP username.
- FTP Password.
- You can leave the port empty, the default will be 21.
- Click connect , and you will be connected to FTP.
You are now presented with various folders in Filezilla as shown in the image below, just double click on ‘public_html’.
You can just drag and drop the .zip file inside the public_html folder. Next part is to extract the zip folder that you have just uploaded, Filezilla does not give you any option to unzip your file, so you will have to do it via command line. For that, you must have ssh access to your server, if you don’t have SSH access you can ask your hosting provider to unzip the file (in this case you won’t have to do anything). Another option is to unzip the folder locally at your computer and upload the unzipped files. To unzip via ssh please run the following commands:
# change directory where all websites are located

cd /home/admin/web/

# now list all the folders inside this directory using

ls

# you will see all the websites folders hosted under your server, that was created using vestaCP GUI. In our case it’s ‘test.cyberpersons.com’, so change to this directory.

cd test.cybepersons.com/public_html

unzip <name of the zip file>
At this stage, your website data is successfully uploaded , and you can visit your domain to verify its there. If your website does not have a database you are done here, but if it has database you should continue reading this article.
Step 3: Upload your database
If and only if your website also had a database, you need to upload and connect your website to it before it should start working normally. First of all, you have to create the database in vestaCP, on how to create a database in vestaCP click here. Once the database is created you can log in to PHPMyadmin via this URL:
http://<server ip address>/phpmyadmin/
It will ask you for the username and password.
- Username : The database username you have just created above.
- Password : Database password.
Once logged into database, select the database and click import as seen in the image below:

You will now see the Import screen.
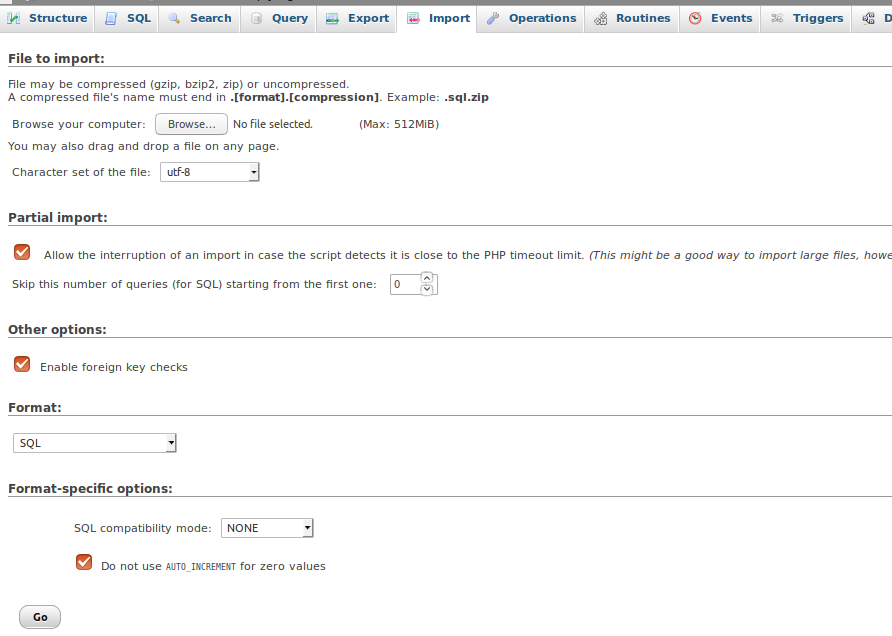
- Click Browse and upload the .sql file you created from cPanel server.
- And press ‘Go’ to upload it.
It will take some time (if the SQL file is large) and your database will be successfully restored. Your database is restored but it’s still not connected to the script you are using. Because in your cPanel server your database name might be ‘cpanel_database’. But in vestaCP, it might be ‘vestacp_database’.
Step 4: Connect to database
To connect your script to your new database, you have to tell your script the name of the new database, its username,and updated password. First, you will have to locate the config file where database login details are defined. Most scripts have convention to name that file
- config.php
- WordPress usually name it ‘wp-config.php’
If you are not able to find the database configuration file, you can read your script documentation to find out where it is. After that it’s fairly easy, all you need to do is edit the file and replace old database details with the details of the database you have created in Step 3. In WordPress it looks something like this:
define('DB_NAME', 'Your database name goes here');
define('DB_USER', 'Database username goes here');
define('DB_PASSWORD', 'Database password goes here');
After you have successfully modified and saved this file, you are finally done. You can now browse your website and it should be online. If it is still not, make sure you have done everything as described.
If you have any questions feel free to put them in comments box below 🙂
Hi
Actually there is a script and can transfer mail, databases and files automaticly from cpanel to vestacp.
Can you provide link the the script?
Regards
Hi
Here is: https://forum.vestacp.com/viewtopic.php?f=19&t=11075
Author site: https://www.skamasle.com/migration-tool-cpanel-to-vesta-script-para-restaurar-backup-de-cpanel-en-vestacp/
Just do full backup and run script, help a lot if you have multiple domains.
Just search in forum, google or github 🙂
don’t work for me
see : https://picload.org/image/rogpwago/blo.png
Hi,
If you are having issues restoring database from phpmyadmin, you can do it from command line.
Please contact me through contact form or facebook page, I can help you out regarding this.
have a good day.
Regards
Fantastic write-up, Usman! Thanks so much for the details and screenshots.
You’re most welcome. 🙂
Is there any plugin for that to do process automatically ?