How to install Nginx, PHP, PHP-FPM and MYSQL from source to run a wordpress site on Ubuntu 16.04
Many Linux package managers have built in packages for nginx, php and mysql, they are good if you have less experience with Linux, but installing from source will give you more control our installation locations, settings and much more. So today we will see how we can install Nginx and PHP-FPM (from source) and mysql from the package manager and finally run the word press site. I am going to use Ubuntu 16.04 server distribution.
Step 1: Download and install Nginx!
The first thing we are going to do is install our web server (Nginx). I am going to put all the downloads in one separate folder so that we can keep things organized.
To solve Nginx dependencies run:
sudo apt-get install build-essential
sudo apt-get install libpcre3 libpcre3-dev
sudo apt-get install zlib1g zlib1g-dev

sudo apt-get build-dep nginx
Create folder, download and install the source
# create seprate downloads folder

mkdir downloads
cd downloads

wget http://nginx.org/download/nginx-1.10.1.tar.gz

tar zxf nginx-1.10.1.tar.gz
cd nginx-1.10.1/

# Following command should be run at once, due to its length its prolonged to multiple lines

./configure --prefix=/usr/local/nginx --with-debug --with-http_ssl_module --with-http_realip_module --with-http_ssl_module --with-http_perl_module --with-http_stub_status_module

# Multi line command ends here

# now comiple and install

make

sudo make install
Now you can run nginx using
sudo /usr/local/nginx/sbin/nginx

# or you can also create a symbolic link and run directly

ln -s /usr/local/nginx/sbin/nginx /usr/bin/nginx

# after running the command above you can start nginx with

sudo nginx

# stop nginx using

sudo nginx -s stop

# reload nginx configuration file

sudo nginx -s reload
Open your favourite browser and enter “localhost” in the address bar, and you will see something like this.
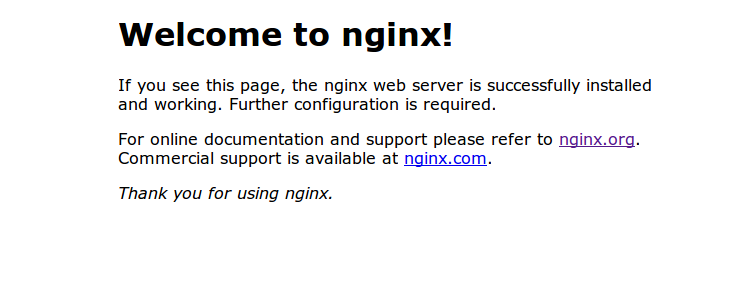
Our webserver is now installed and ready to use.
Step 2: Install MYSQL
Before installing PHP-FPM, we need to install mysql, because it is required for word press installation to work, you can install mysql using:
# library required by php

sudo apt-get install libmysqlclient-dev

# mysql installation

sudo apt-get install mysql-server libapache2-mod-auth-mysql php-mysql php-gd
Our mysql installation has now completed.
Step 3: Install PHP-FPM
At the time of writing of this article, PHP 7 has been released, so I will be installing php7 with php-fpm. You can download PHP from available mirrors located at : http://php.net/get/php-7.0.10.tar.gz/from/a/mirror
cd
cd downloads
wget http://us2.php.net/distributions/php-7.0.10.tar.gz

tar zxf php-7.0.10.tar.gz

cd php-7.0.10

# Multiple lines command

./configure --prefix=/usr/local/nginx/php --enable-fpm --with-mysqli=/usr/bin/mysql_config --with-zlib --with-curl

# Multiple lines command end here

# Run following to finalize the php install

make
sudo make install
After running the last command above, you will have some output printed out on terminal, something like this :
Installing shared extensions:     /usr/local/nginx/php/lib/php/extensions/no-debug-non-zts-20151012/
Installing PHP CLI binary:        /usr/local/nginx/php/bin/
Installing PHP CLI man page:      /usr/local/nginx/php/php/man/man1/
Installing PHP FPM binary:        /usr/local/nginx/php/sbin/
Installing PHP FPM config:        /usr/local/nginx/php/etc/
Installing PHP FPM man page:      /usr/local/nginx/php/php/man/man8/
Installing PHP FPM status page:   /usr/local/nginx/php/php/php/fpm/
Installing phpdbg binary:         /usr/local/nginx/php/bin/
Installing phpdbg man page:       /usr/local/nginx/php/php/man/man1/
Installing PHP CGI binary:        /usr/local/nginx/php/bin/
Installing PHP CGI man page:      /usr/local/nginx/php/php/man/man1/
Installing build environment:     /usr/local/nginx/php/lib/php/build/
Installing header files:           /usr/local/nginx/php/include/php/
These are paths to your php files, for later reference please save them at a safe place, now our PHP is installed and we are ready to use php-fpm.
Step 4: Configure PHP and PHP-FPM
We need to make some adjustments before we can start using PHP-FPM, you can download our configuration files from cyberperson mirrors.
# Change directory to download php.ini

cd /usr/local/nginx/php/lib

# download the php configuration file

sudo wget http://mirrors.cyberpersons.com/php.ini

# download php-fpm configuration

sudo wget mirrors.cyberpersons.com/php-fpm.conf
Now all your configuration files are downloaded (If for some reason you are not able to download the configuration files, please comment). Its time you should start your PHP-FPM so that you can start using php. Run the following to start PHP-FPM
sudo /usr/local/nginx/php/sbin/php-fpm -c /usr/local/nginx/php/lib/php.ini --pid /var/run/php-fpm.pid --fpm-config=/usr/local/nginx/php/lib/php-fpm.conf -D
We have to configure NGINX and add virtual host for our domain, so that we can run a wordpress site.
Step 4: Configure Nginx
In the NGINX configuration file you have to configure virtual host, that will host your wordpress site. If you have installed nginx on the same prefix as we did, than your configuration file for nginx will be located at “/usr/local/nginx/conf” with name “nginx.conf”.
Inside your “HTTP” block paste the following
server {
    listen 80;


    access_log /var/log/www/test/access_log;
    error_log /var/log/www/test/error_log;
    server_name test.cyberpersons.com;
    root /var/www/test;

      index index.php index.html index.htm;

      try_files $uri $uri/ /index.php;

      location ~ \.php$ {

        include fastcgi_params;
        fastcgi_pass 127.0.0.1:9000;
        fastcgi_index index.php;
        fastcgi_param SCRIPT_FILENAME $document_root$fastcgi_script_name;
    }
}
In front of server_name, replace domain with your actual domain name. Now we’ve to create a directory to host content for our domain.
# create directories

sudo mkdir /var/www
sudo mkdir /var/www/test

# it would also be appropriate if you change the owner of these directories to your current logged in user.

# Now move to this directory and download wordpress

cd /var/www/test
sudo wget https://wordpress.org/latest.zip

# unzip the dowloaded wordpress

sudo unzip latest.zip
Step 5: Create Database
Before we head towards the installation of wordpress, we need to create mysql database. Use following commands to create database, and add user to it.
mysql -u root -p

# Create database

CREATE DATABASE wp;

# Create user

CREATE USER 'wp'@'localhost' IDENTIFIED BY 'cyberpersons';

# Grant user access to database

GRANT ALL PRIVILEGES ON wp.* to wp@localhost;

FLUSH PRIVILEGES;

exit
If you have used above commands, your database credentails will be
- Database name : wp
- Database user : wp
- Database password : cyberpersons
- Host : localhost
Step 6: Reload Nginx and Install wordpress
If you have nginx already running, you can reload the configuration (because we have modified nginx configuration)
sudo /usr/local/nginx/sbin/nginx -s reload
Once nginx is reloaded, you can visit your domain, but please make sure you have already properly setup-ed DNS for your domain, to set DNS you can visit a link here. Once DNS is set you can visit your domain in the browser, in our case domain is “http://test.cyberpersons.com/wordpress”.
If everything worked correctly you might see something like this:
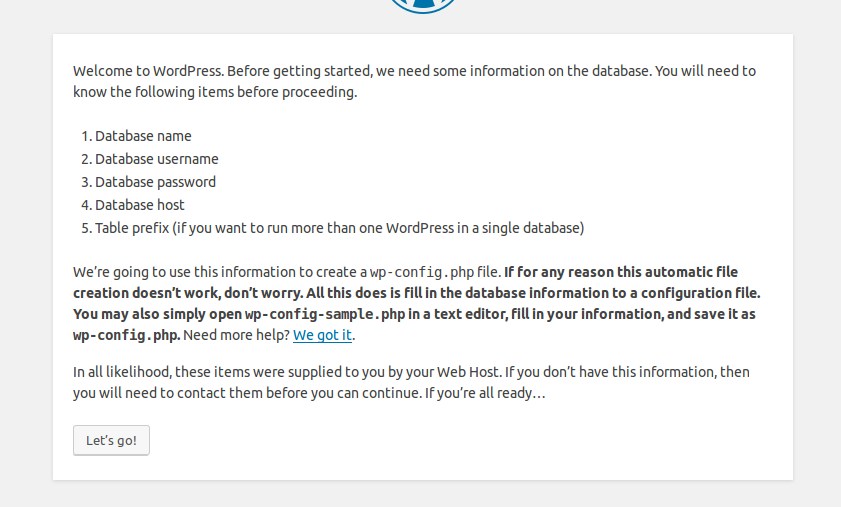
Just click “Lets Go”, and then enter your database details, and you are ready to use wordpress. 🙂
http://mirrors.cyberpersons.com/php.ini cannot be accesed..
do you have another link?
or I think, it is best to write the code here. thanks
Why did you not include also the setting below? Other tutorial that I found on web, have it.
# regex to split $uri to $fastcgi_script_name and $fastcgi_path
fastcgi_split_path_info ^(.+\.php)(/.+)$;
# Check that the PHP script exists before passing it
try_files $fastcgi_script_name =404;
# Bypass the fact that try_files resets $fastcgi_path_info
# see: http://trac.nginx.org/nginx/ticket/321
set $path_info $fastcgi_path_info;
fastcgi_param PATH_INFO $path_info;