
How to create Windows VPS in Proxmox through Template!
Manually creating a windows vps (windows server 2008 or windows server 2012) is really a hectic job in proxmox, because you need to manually install drivers as well. I’ve been working with proxmox lately and created some templates so that one can easily clone them. Once the template is cloned it is ready to use.
Let see how we can create windows vps in proxmox through a clone.
Windows Server 2008
Step 1: Download the template
First you need to download template from cyberperson mirrors, our template come with all necessary drivers already installed. Login to your proxmox SSH and run
Note: Windows Server 2008 ISO link was broken, it has now been fixed.
cd /var/lib/vz/dump
wget http://mirrors.cyberpersons.com/windows-server-2008.vma.lzo
This will download windows server 2008 template to your proxmox backup directory.
Step 2: Restore to virtual machine
You will need to restore this template to a virtual machine first, run
cd /var/lib/vz/dump
qmrestore windows-server-2008.vma.lzo 500
In the second command ‘500’ will be the VM ID when it will be restored, make sure you select the ID appropriately (choose the ID for which their is no VM already created).
Once the restore process is completed, our terminal part is ended, come back to your proxmox web interface. and find the virtual machine with id 500.
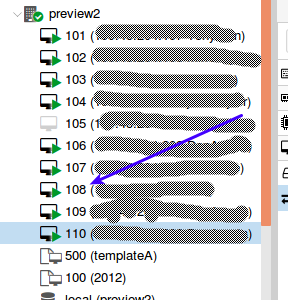
Arrow points to the VM ID (here its 108, yours will be 500).
Step 3: Convert to template
Right click on this virtual machine and click ‘Convert to Template’

Once converted, it will move to the bottom of all virual machines, and is ready to be cloned.
Step 4: Clone a virtual machine
Now your template is ready and you can use it to create virtual machines, right click on the template just created, and click ‘Clone’. And this window will appear.
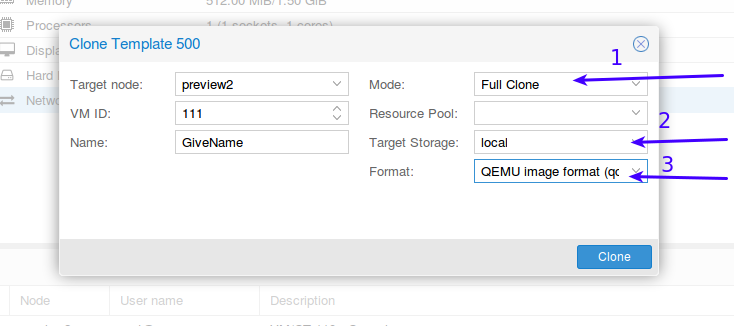
- Mode : From drop down select ‘Full Clone’
- Target Storage : From drop down select ‘local’
- Format : Select Qemu image format
Once done, click clone, it will take some time to clone (If your server runs on SSD , then it will take 60-120 sections), you can see the clone status in your tasks lists at the bottom.

Step 5: Start Virtual Machine
Once the clone process is completed, you can start your virtual machine, but before starting you need to do one more thing. You will have to delete the CD/DVD Rom drive from your virtual machine.
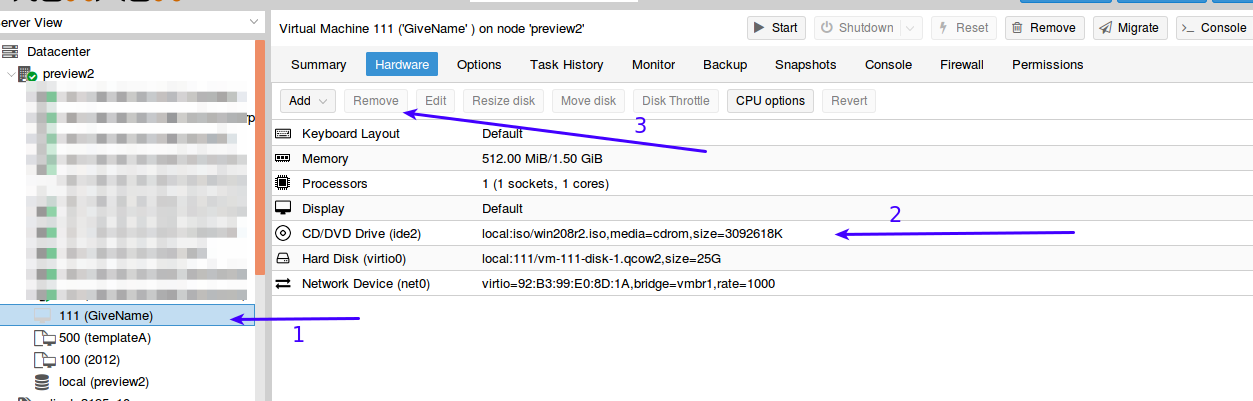
After removing the drive, just right click the virtual machine and click ‘Start’.
Step 6: Finalizing the Clone
Now that your Virtual machine is started, you need to open its console, further steps don’t need any explanation (as they are self explanatory, lets go through them via screen shots only).
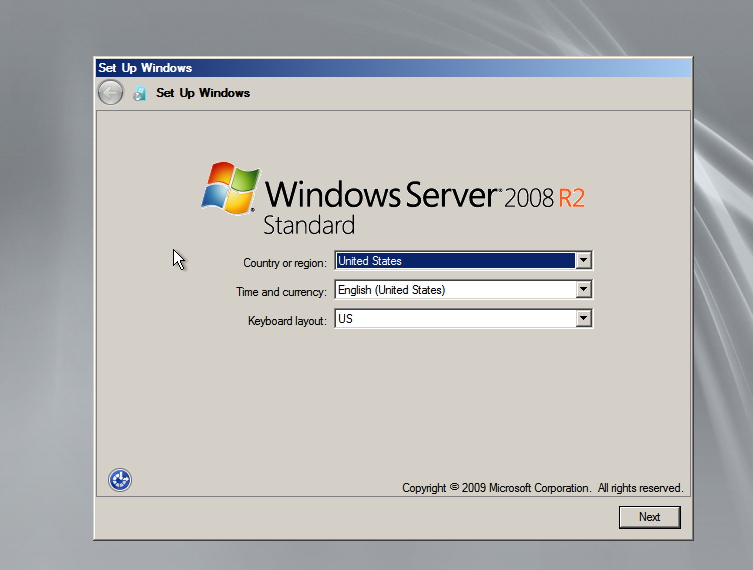
On your console, this window will take some time to appear (depending upon your server computation power). Just click ‘Next’
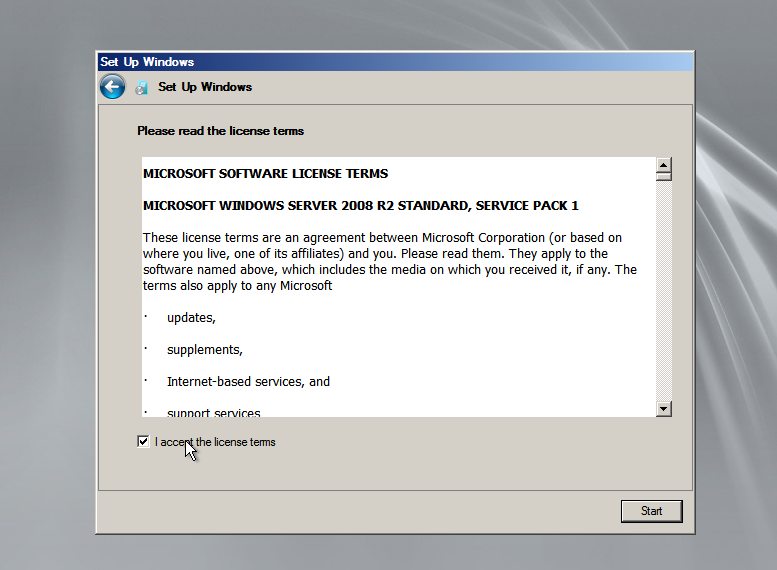
Accept agreement, and click ‘Start’.
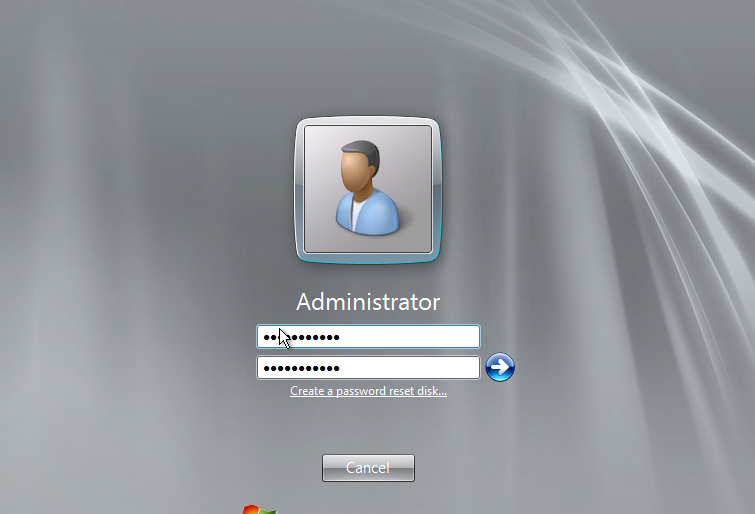
Enter password and hit Enter on your keyboard. After the password is set, click ‘OK’ on the screen and it will take you to your windows desktop.
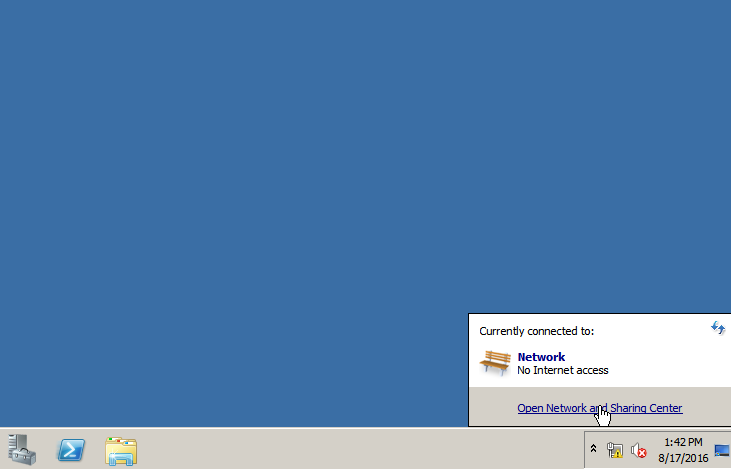
Step 7: Set up the network
Now that your windows is installed, you will want to access it via remote desktop, but you need to enable network first. Open the ‘Network and Sharing Center’.
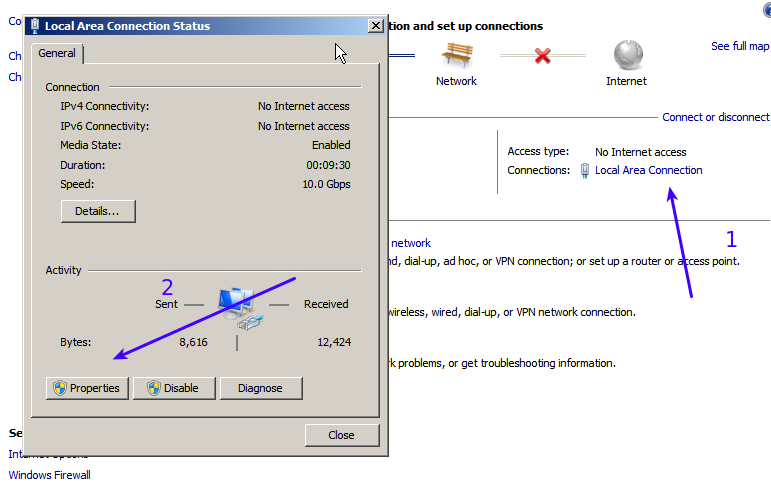
First click ‘Local Area Connection’ and then click Properties.
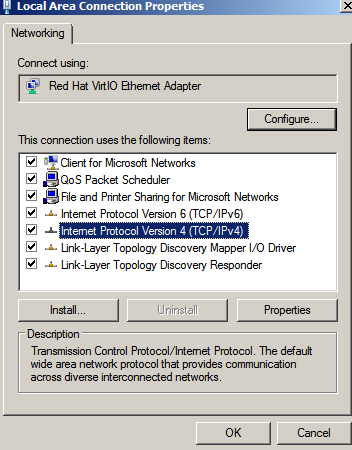
Select Internet Protocol Version 4 from the list.
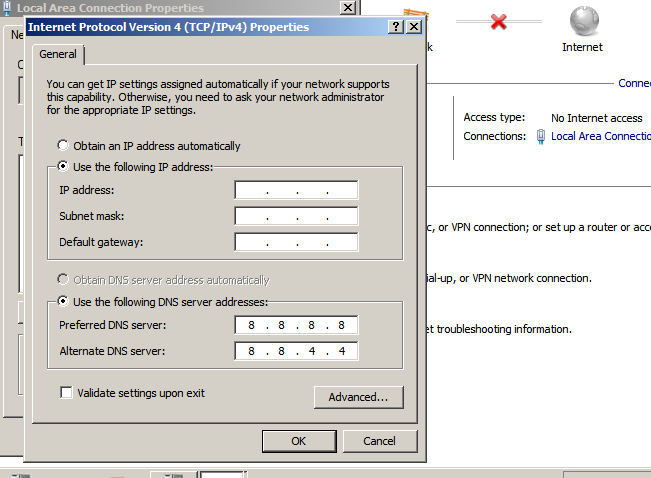
For DNS you can use :
- 8.8.8.8
- 4.4.4.4
For IPv4 details you will have to ask your provider to give you static IPv4 details. As soon as you set the network, you can then access your windows VPS through remote desktop client on any other windows using the IP address you just entered above, and the password you selected during the install.
Windows Server 2012
The process for Windows Server 2012 is almost similar to the process above, only with few differences.
Step 1: Download the template
cd /var/lib/vz/dump
wget http://mirrors.cyberpersons.com/vzdump-qemu-102-2017_04_18-03_43_55.vma.lzo
This will download the windows server 2012 template to the dump folder of proxmox, so that we can restore it to virtual machine.
Step 1: Restore it to virtual machine
To restore it to Virtual machine please run:
cd /var/lib/vz/dump
qmrestore vzdump-qemu-102-2017_04_18-03_43_55.vma.lzo 500
Now you have to go back up and read from step 2-5 so that you can start your Windows Server 2012 virtual machine.
Step 2: Finalizing the clone
If you have followed the steps from 2-5, you will be in a state to finalize your installation, just right click the virtual machine and open the console. Just like above, rest of the steps are self explanatory as well, but we will go through them via screen shots.
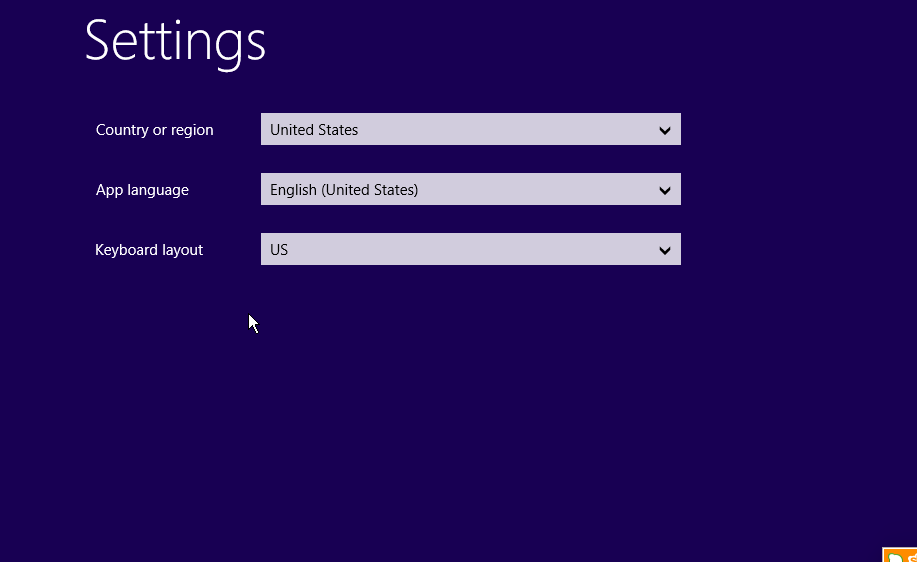
Their is a bug in proxmox, you might not be able to see full screen, so just hit enter on your keyboard once you reach this screen, it will move forward.

Similarly hit enter on this screen as well.
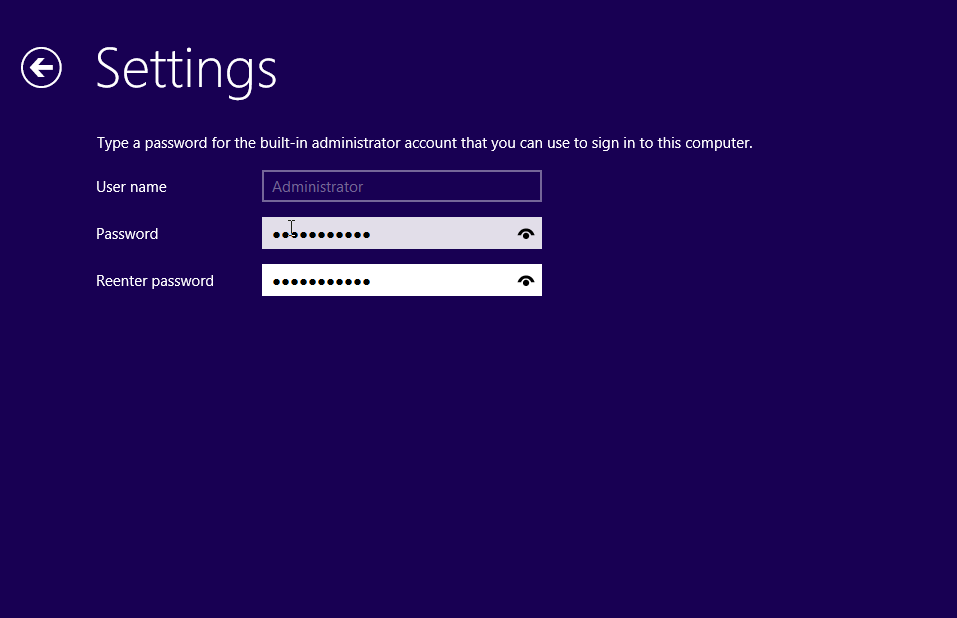
Enter password, and hit enter. After hitting enter this time, you will see the following window.
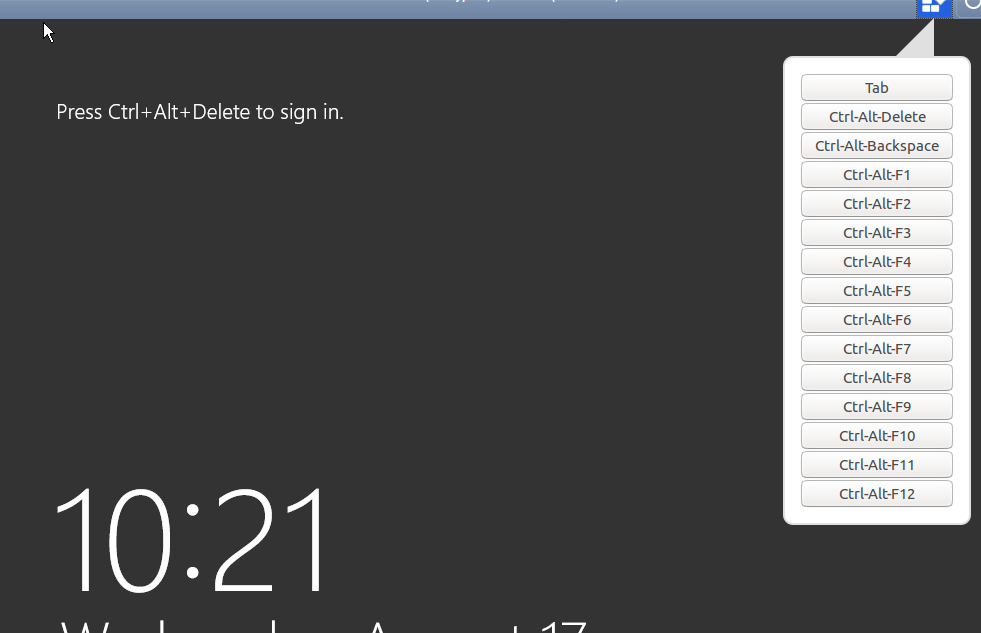
Just click the Ctrl-Alt-Delete from this menu (Ctrl-Alt-Delete from your keyboard will not work), it will ask you for the password you just set, enter the password and you will see the desktop. All you have to do is setup your network to access it remotely.
Step 3: Setup Network
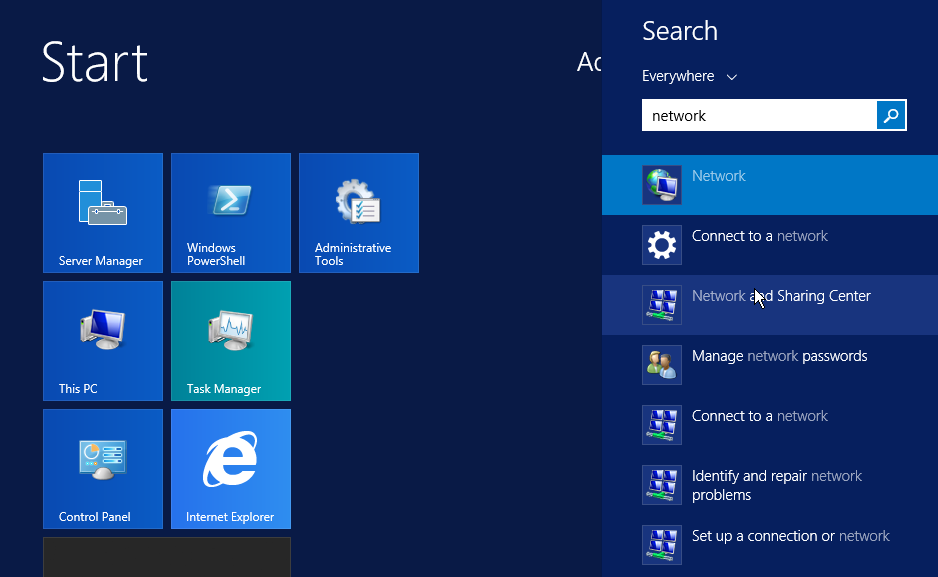
Search for Network and Sharing center through Start menu.
On the Network and Sharing Center, click ‘Ethernet’

Click properties from the above window, so that you can set IPv4 details.

Double click on IPv4 to open its properties.
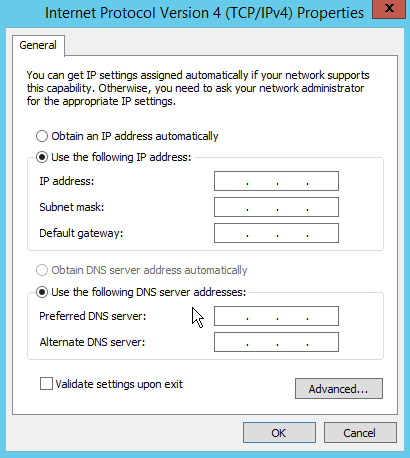
Now its time to set your static IPv4, you can get static IP from your service provider, for the DNS you can use:
- 8.8.8.8
- 8.8.4.4
You can now access it via remote desktop client, if you are still not able to access it from remote desktop, you can disable firewall on the virtual machine, or allow remote desktop through firewall and you will be good to go.
Thanks for the information,
the wget command failed with error:
unable to resolve host address ‘mirrors.cyberpersons.com’
is there a different location to get the templates
Please try : http://mirrors.cyberpersons.com/vzdump-qemu-102-2017_04_18-03_43_55.vma.lzo
Let me know if you need any help.
Regards
Windows Server 2008 ISO file also updated.
Regards
[…] How to create Windows VPS in Proxmox through Template! […]
[…] How to create Windows VPS in Proxmox through Template! […]
have you got any server 2012 r2 datacenter server 2008 datacnenter and server 2016 datacenter templates please
If you provide a link to ISO, I can create their templates for you.
https://www.microsoft.com/en-us/evalcenter/evaluate-windows-server-2016/
Thank you.
Keep visiting this page for updates. Will do in a week.
anything done yet
Here you go: http://mirrors.cyberpersons.com/windows-2016.vmz.lzo
Anything else?
Hi can you upload there somewhere else im having issues downloading it also can you make a server 2012 r2 template please https://i.ibilly.me/ZfxyhQ.png
Image link does not works for me.
oh the issue is i cant wget it – Connection closed at byte 2063725. Retrying. also is there a server 2012 r2 datacenter template and can you make a diffrent upload for 2016 template as i cant download it
Are you able to download others?
na when i wget it is time out
Please try now, I’ve changed the server location.
Let me know if there is still any issues.
thanks that link fine is there a server 2012 r2 one dc
Give me the link to iso, I will find some time to do it.
its on the same page
hi your download site is down
how to automate create proxmox vm through commands?
Hi
After wget this error showed
wget: unable to resolve host address ‘mirrors.cyberpersons.com’