

1000+
Satisfied Customer
10M
Revenue Generated
1000+
Projects Delivered
Android Development
Unleash the power of mobile innovation with our Android development services. From concept to launch, we craft robust and user-friendly apps that stand out in the ever-evolving digital landscape
Website Development
Elevate your online presence with our website development expertise. Whether you need a dynamic corporate site or an interactive e-commerce platform, we create websites that captivate audiences and drive results.
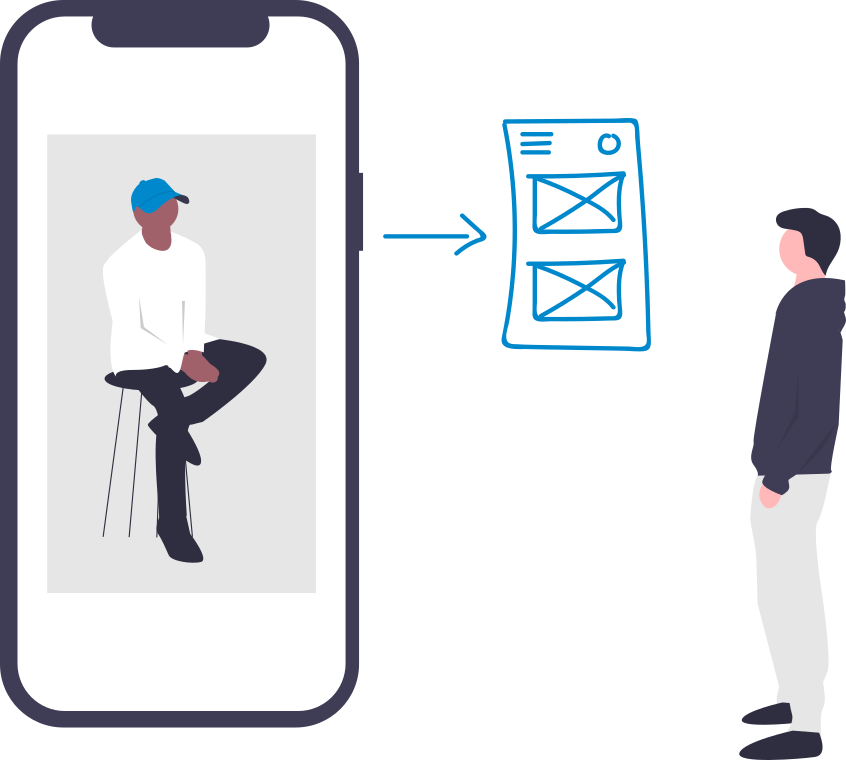
UI/UX Design
Immerse your audience in a seamless digital experience with our UI/UX design services. From intuitive interfaces to captivating user journeys, we prioritize aesthetics and functionality to ensure your digital presence leaves a lasting impression.
SEO (Search Engine Optimization)
Boost your online visibility and rankings with our strategic SEO services. We navigate the complexities of search algorithms, ensuring your website not only attracts but engages your target audience, leading to sustained growth and success.
- Schedule a Flavourful Discussion

Hello world!
Welcome to WordPress. This is your first post. Edit or delete it, then start writing!
Read MoreA wonderful serenity has taken technology
Lorem Ipsum is simply dummy text of the printing and typesetting industry. Lorem Ipsum has been the industry’s standard dummy text ever since the 1500s, when an unknown printer took a galley of type and scrambled it to make a type specimen book. It has survived not only five centuries, but also the leap into electronic typesetting, remaining essentially unchanged. It…
Read MoreOne morning, when Gregor Samsa
Lorem Ipsum is simply dummy text of the printing and typesetting industry. Lorem Ipsum has been the industry’s standard dummy text ever since the 1500s, when an unknown printer took a galley of type and scrambled it to make a type specimen book. It has survived not only five centuries, but also the leap into electronic typesetting, remaining essentially unchanged. It…
Read MoreGreat service as usual. I have used his service before also and never had a complain. I must say that the experience was nothing short of outstanding. I have always received the exceptional work as before. Thank you for this.

John Doe
Codetic